Distinguished mopeds, marriage and Adventure Truck

With the TSM-SP wrapped up I thought it would be a good idea to participate in the Distinguished Gentleman’s Ride and convinced Leah to participate too.

She had been meaning to upgrade her Motobecane ignition to a CDI.  After a day at the garage is back to the test strip.

https://www.instagram.com/p/BJ_zN8YB3pE

Enter Adventure Truck…time to head back to the old airport.

https://www.instagram.com/p/BKOw_dkBVR2

The original plan was to ride in NYC but our friend was getting married in Providence,RI the day before the ride so we moved to that ride.

DGR was quite the ride with some surprises.  Leah was a trooper and hung in there when we ended up on I95.  I was glad Green 2.0 was up to the challenge and could keep up with the big bikes.  After a raffle and some fun we packed up and headed home.

IMG_2146[1]

Next up…classic reading, A Tale of Two TSMs.

Bolted-up and beautiful but broken?!

Everything is together and looks great but no matter what I do I can get this carb jetted correctly.

https://www.instagram.com/p/BGDmv2ZmnYm

After getting a mediocre idle I discover that my engine has a bad seal.  Not a big deal and while replacing the seal I discover the crank is out of true.  The wobbly crank is what shortened the life of the seal.  I thankfully have another crank and new bearings on hand.  Thanks to Chris from Tomahawk mopeds and Nash for sharing ideas around pressing on bearings.  Time to build my own tool.

https://www.instagram.com/p/BGitJ3cGnSq

It works great and now it is building time!

https://www.instagram.com/p/BGnJdaTGneN

With the engine back on the bike the idle is better but still not great.  No idea what is going on here.

https://www.instagram.com/p/BGozrduGnba

https://www.instagram.com/p/BIaNaVng4xQ

I suspect that maybe there is a leak around the clamp on carburetor.  I try a new shim and that doesn’t work.  I then try using a completely new carb with a spigot mount. It doesn’t really fit and the issue remains.

https://www.instagram.com/p/BJKBgm8gnTs

In a last ditch attempt I break down the carb and rebuild it completely…still impossible to jet.  On a fluke I took the intake off and low and behold it has a hairline crack…insert swearing here…

https://www.instagram.com/p/BJjE8SSgVgg

https://www.instagram.com/p/BJmQVTmhO3W 

If I’m anything I’m tenacious, but try as I might I couldn’t save the old intake.  Ordered a new one from Treatland.tv and I’m finally back in business.  My assumption is that the out of true crank caused excessive vibrations and the strain caused the crack.

https://www.instagram.com/p/BJt-MPHg-wg

After dialing things in its done!   Time to ride!

Next up…weddings and wanderings with wife and wheels.

Holey tanks and holy crap I’m bad at painting!

Once everything was together I decided it was a good idea to clean this old tank before I took it for a ride.  So I filled the tank with Evapo-Rust and left it overnight.

EvapoRust_Bottles1

The next day I checked on the tank and it was mostly empty.  That should have been a sign that something was afoot but I noticed that the gorilla tape and stopper had come loose from the petcock threads so I thought it was just a tape failure.

Flushed out the tank with some acetone and then back on the bike for a ride…I started to pour the premix into the tank and then suddenly it sounded like a mini rain shower!  My tank is officially a spaghetti strainer!

After tossing a paint tray under the bike I managed to stop pouring gasoline on my garage floor.  (Insert swearing here) The tank is definitely free of rust…sadly it’s bottom half was mostly rust but it’s shiny metal now!  After draining the tank for real I coated the inside with a layer of oil and sealed the whole thing up with plastic wrap.

The good news is that I have parts for a second TSM and the tank is already clean…and maybe doesn’t leak?  After a quick test (off of the bike) being leak free is confirmed.  Hop on the bike go around the block and everything is right with the world…well mostly…this tank looks terrible…its got some dents and is spray painted black.

Having never painted anything other than pipes and frames I had no idea how to make a tank look nice.  So I outsourced the work to my buddy Larry…and he managed to find metal under a total of 8 different coats of paint!

IMG_2993What I didn’t realize was, he wouldn’t get any further than that…its weird, he has other things to do other than unpaid work for me…go figure.  Larry did have time to poke around and find the perfect color green!

Bondo is easy…and surprisingly fun once you figure out the timing of mixing and smearing.  I also liked sanding it…little did I know I was soon to be in sanding hell.

I build a tiny paint box and made a lazy-susan with a big bearing and I’m shooting paint.  This is where everything goes down hill.  Too much paint, too fast, too much dust, this isn’t as easy as it looks…what am I doing!!!  After stopping because I’m terrible at painting, I started watching some YouTube tutorials…which told me what I already new…I’m impatient.

After much slowing down and lots of sanding I got the paint right!

Now that I had painting figured out, I decided I should fix the holey tank too.  The only thing better than one TSM is two.

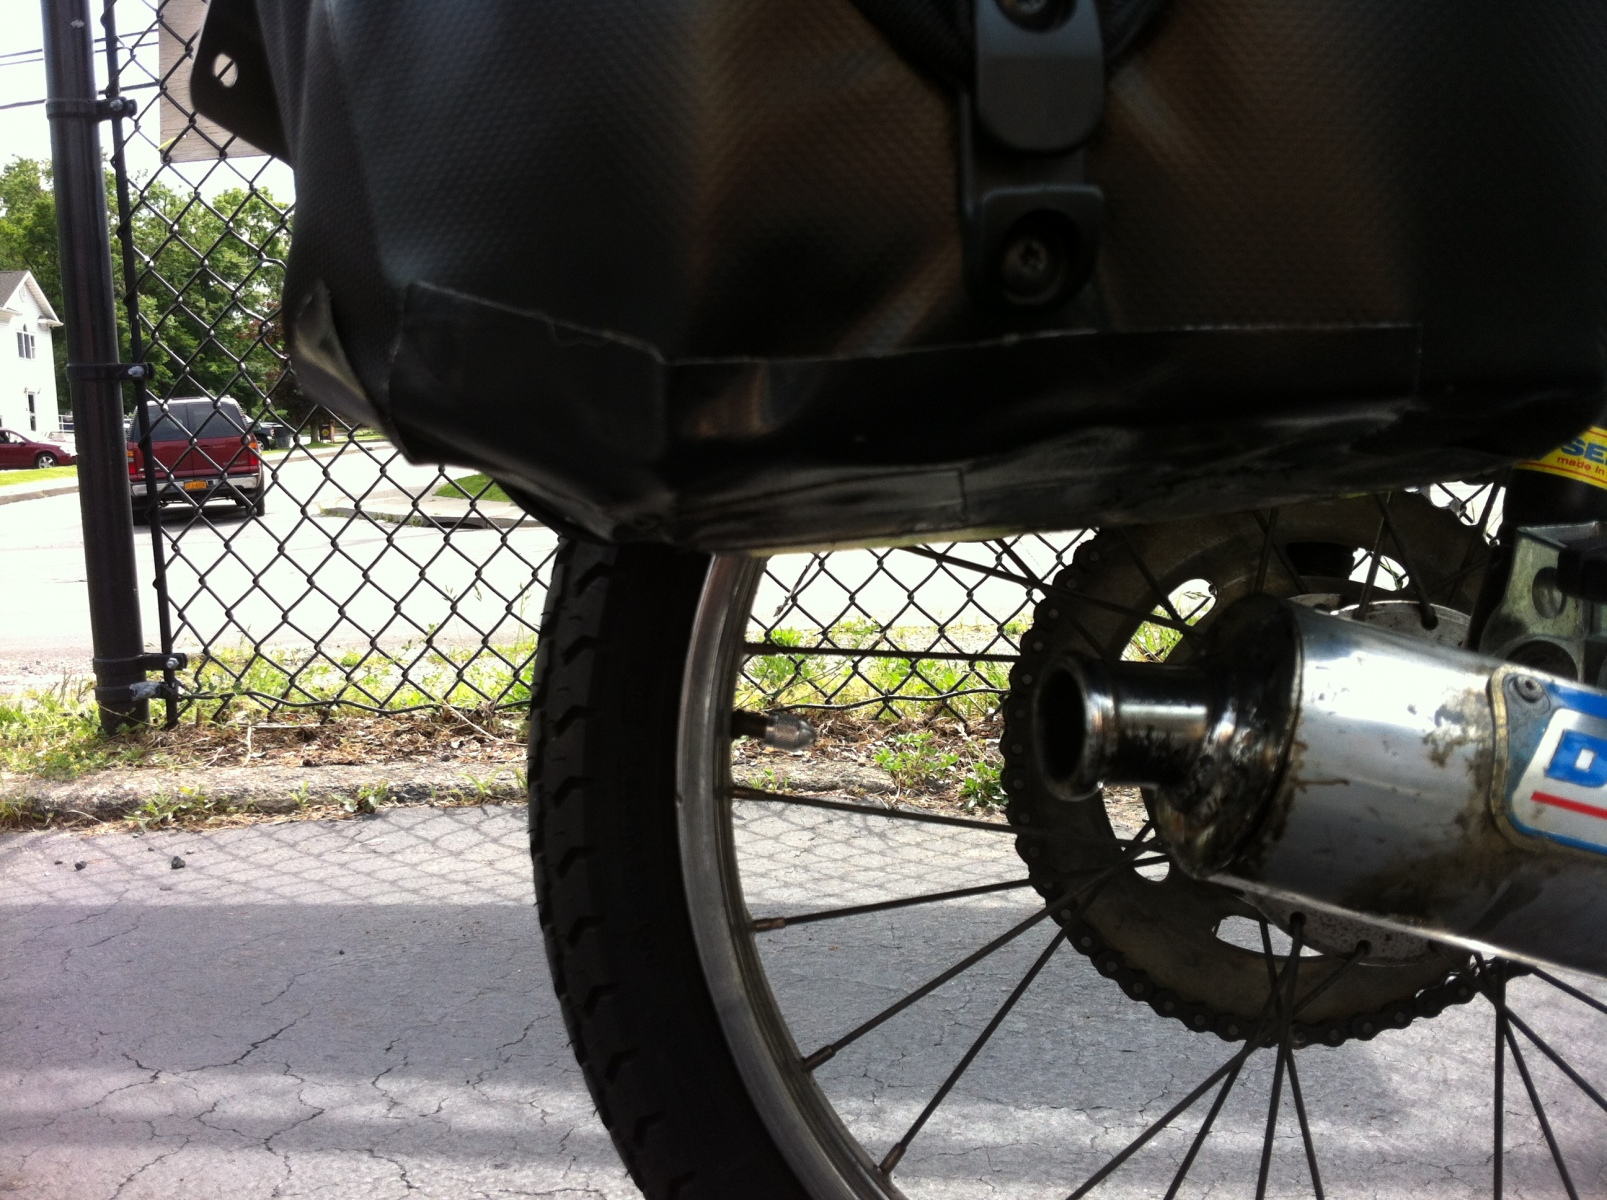
The tank needed the rust removed the rest of the way and low and behold the was a big hole in it to go along with all the little ones.  Patched things up with thisIMG_3013

and then bondo to smooth things out.  A little epoxy to clean up the cracked plastic parts and then paint.  Oh and stripes!

https://www.instagram.com/p/BS2l9ikhmz6

Once both tanks looked good they both got a full can of 2K epoxy coat to make them gas resistant and read to go.

IMG_0448

Note: I intend to Caswell the inside of the striped tank so I can be sure it won’t leak again.  That adventure is TBD.

Next up…back together again but you still won’t be my friend!?

Wire woes and how do I attach…these?

Imagine you just put together a completely ride worthy vehicle but you made a list of requirements because you LOVE lists…so instead of riding it around…you keep working…yep…that’s what’s happening…

Fitting the blinkers in the front is pretty easy the hard part is remembering what wire goes where…

Then some holes drilled into the tail light assembly get things fitted nice and snug.

(I couldn’t find a build picture of this so here is a current one.)IMG_3088[1]

Then some gauges
20151114_214850

Next it is time to hang the rear fender (I forgot to take mock-up pictures…I get carried away when I’m working).  I had another pannier rack floating around the garage and it needed to be shortened up to put the fender in the spot I wanted.  I made a hanger for the front of the fender with some strip steel.  This is held in place with a bolt and some spacers.

I cut up the existing seat mounts so they would better fit on the TSM frame and then slapped on a tank.  It’s time to gas this up and go for a ride!

20151122_190114_001

>>>>fast forward to the future>>>>

The initial rear fender mount idea didn’t work and I had to add a hanger to the back (under the tail light) to keep the fender in place.  You can see it in the taillight picture above and below is the video loop of putting it on.  This happened a while after the moped was done but I should of done it right at the start.

https://www.instagram.com/p/BIaTRcgAq-X

Next up…why is my moped a fuel filter!?

Peugeot and Lego rhyme

Now armed with a pile of formerly working parts, I needed to turn them into a new vehicle…I should of thought this through.

I realized I wanted Green 2.0 to be more than just a top tank conversion.  Time to make a list.

TSM-SP must haves:

  • Disc brakes
  • Seat big enough for riding dubs
  • Mount points for panniers
  • Turn signals
  • Green paint (should look like Green but updated)
  • Use as much of the SP as possible

Seems pretty straight forward but that was before I started looking at what parts I had and how these were going to fit.

Fit/ No Fit list:

  • SP swingarm – fits (Yay!)
  • SP shocks – fits (Woohoo!)
  • SP engine and exhaust – fits (Wot!)
  • SP handlebars and controls – fits (I would hope so!)
  • SP seat – doesn’t fit
  • SP rear fender – doesn’t fit
  • SP panniers mounts – doesn’t fit
  • Tomos front forks and wheel – sort of fits

No idea why I thought this would just bolt up but here we are.

Taking a look at the frame there are a lot of mounting parts that I just don’t need…and this frame needs a little fresh paint anyway so it’s grinder time. (Use your imagination…I forgot to take pictures)

Poof! Done.

20151113_203949

Now to out these parts together-ish…

And there you have it!  It’s looking like a moped…but it’s not green yet!

Next up…wires and gauges and what the heck was I thinking!

103SP to TSM-SP or Mini TSM or whatever, you get the picture

JFSP4376[1]

Green Machine was my first French moped and the start of my love of silly swinging engines.  From the first time I took a ride on a stock 103SP, I was fascinated with the performance of the “Cadillac” of mopeds.  (Not my term that credit goes to Jerry Murray from his book; Mo-Ped The Wonder Vehicle)

Green was the most exciting thing I had built and even a fast Honda MB5 didn’t change that.  I put thousands of miles on the bike and eventually the fact that I didn’t have a crossbar on it for much of its speedy life finally caught up to me.  The tank started leaking and brazing is not my strong suit…yet.

I decided it was time for the 103SP to evolve.  I loved everything about it except the fuel capacity.  The ride height fit me well and it could handle dubs without issue…so where to go next?

I thought about removing the tank and fitting on a bigger one but then remembered that I had a tank and a frame.  Oh right I have a blog about a moped I’ve never built!

Time to transition Green the 103SP to Green the TSM-SP?  Why a TSM-SP?  Well I’m short and a regular TSM is tall…like me on my tiptoes tall.  My 103SP is lowered and I like to think the SP stands for “Short Person”.  Thus the TSM-SP is born!

Thankfully it’s the shocks, fork and seat that make a TSM tall just like a 103SP…so let the parts harvest commence.

I’m going to use everything from the 103SP except the frame, seat and side covers.  The 103SP’s tank now is empty with a coat of oil in it and it tucked up in the rafters of my garage for when I get around to fixing that leaky tank.

Next up…why Peugeot mopeds are not like Legos.

Back in business

This blog has been off track since it’s inception.  It is time to fix this sucker…my brain doesn’t like being limited to one subject and this blog shouldn’t either.  It is time for some updates.

Now if you found this page with the hope that it would have info on Peugeot TSMs and other moped goodness, you are still in the right place.

You’ll also find me babbling about making music, traveling light, living more with less, tiny houses, camper conversions, practical philosophy, and the ethics of technology…I think that’s it but you never know.  I updated the About to reflect that too…so surprise there should be no surprise!

Hopefully by sharing what I’ve learned, I’ll save you some time and effort on your journey.

Even though I haven’t been blogging I have been taking pictures…most of the time…so how about I kick things off with how a 103SP becomes a TSM-SP…

IMG_1945

Updates will come every two weeks and I have lots of stories to tell.  The sleeves are rolled up, so let’s get to it…

The Trip That Was 2012

It is actually the same year between posts so not too bad on my part.  Yay me 🙂

So after the Trip That Wasn’t, Leah and I decided to plan an other less ambitious trip.

So a trip to Floyd Bennett Field was the next trip planned….and we actually made it.

Gotta get down there again.  Beyond the regular camping fun there is an aviation museum and they have fixed up the old terminal too.  Really nice place!

Even the park rangers are awesome!

The Trip That Wasn’t – 2012

The idea of going camping via a moped has been in my brain since I started riding one.  It doesn’t seem like that big of a challenge.

I mean you can make a moped go about 50+ mph without really a lot of work or even knowing what you are doing.  You can make the 50+ mph bike reliable once you do know what you are doing.  The US is covered in little roads that can get you any where , granted not very quickly but you are on a moped!  So I figured that 80-100 miles out of the city to a campsite would be a reasonable first trip and Leah didn’t even think I was crazy when I asked her if she would come.

So we packed up our bags, over loaded our mopeds and headed north (crossing over to Manhattan, up through the Bronx and across to Broadway and then north to Yonkers and beyond).

We made it to Tarrytown, NY before it started raining, my pannier was a little melted, my throttle cable broke but luckily we “roughed it” in a Double Tree hotel…they gave us warm cookies and a place to chain up the mopeds.  Phew!


The next morning we loaded back up (with better distribution of weight) and headed out…made it all the way to Montrose, NY when the magical nut that holds Leah’s Moby clutch in place vanished and the clutch rolled away as we pulled into a parking lot to figure out why she was over-revving!  Oh yeah and on the way we had to stop as my panniers actually caught on fire…oops!

So after walking up and down about 3-4 miles of road looking for the escaped nut (yikes), and riding to every NAPA and other auto parts store on the map we gave up and camped out at a local bar until Larry and Becca could come save us…in their Fiat 500!  Thanks to the bar owner we were allowed to lock our mopeds up in the basement so we could get them the next day.

So after getting home and recovering we rented a ZipCar and then our mopeds made it home….but don’t worry we didn’t give up that easily!